Tuesday 21 June 2011

Green Shoots (Part 2)

by Trumpety Trump

Over a wet weekend it can be difficult to find things to do in the garden with the kids. However, if you are lucky enough to have a sheltered area, and were encouraged by my previous 'Green Shoots' blog about planting seeds and bulbs with the children, read on....

I thought it was time to be looking at re-potting and assessing how our little projects were progressing. In March (which seems like a lifetime ago now), we planted some sunflower and tomato seeds together with a variety of bulbs. Their gradual growth has been watched avidly every day by the children and certainly the recent rain has given them all a healthy boost.


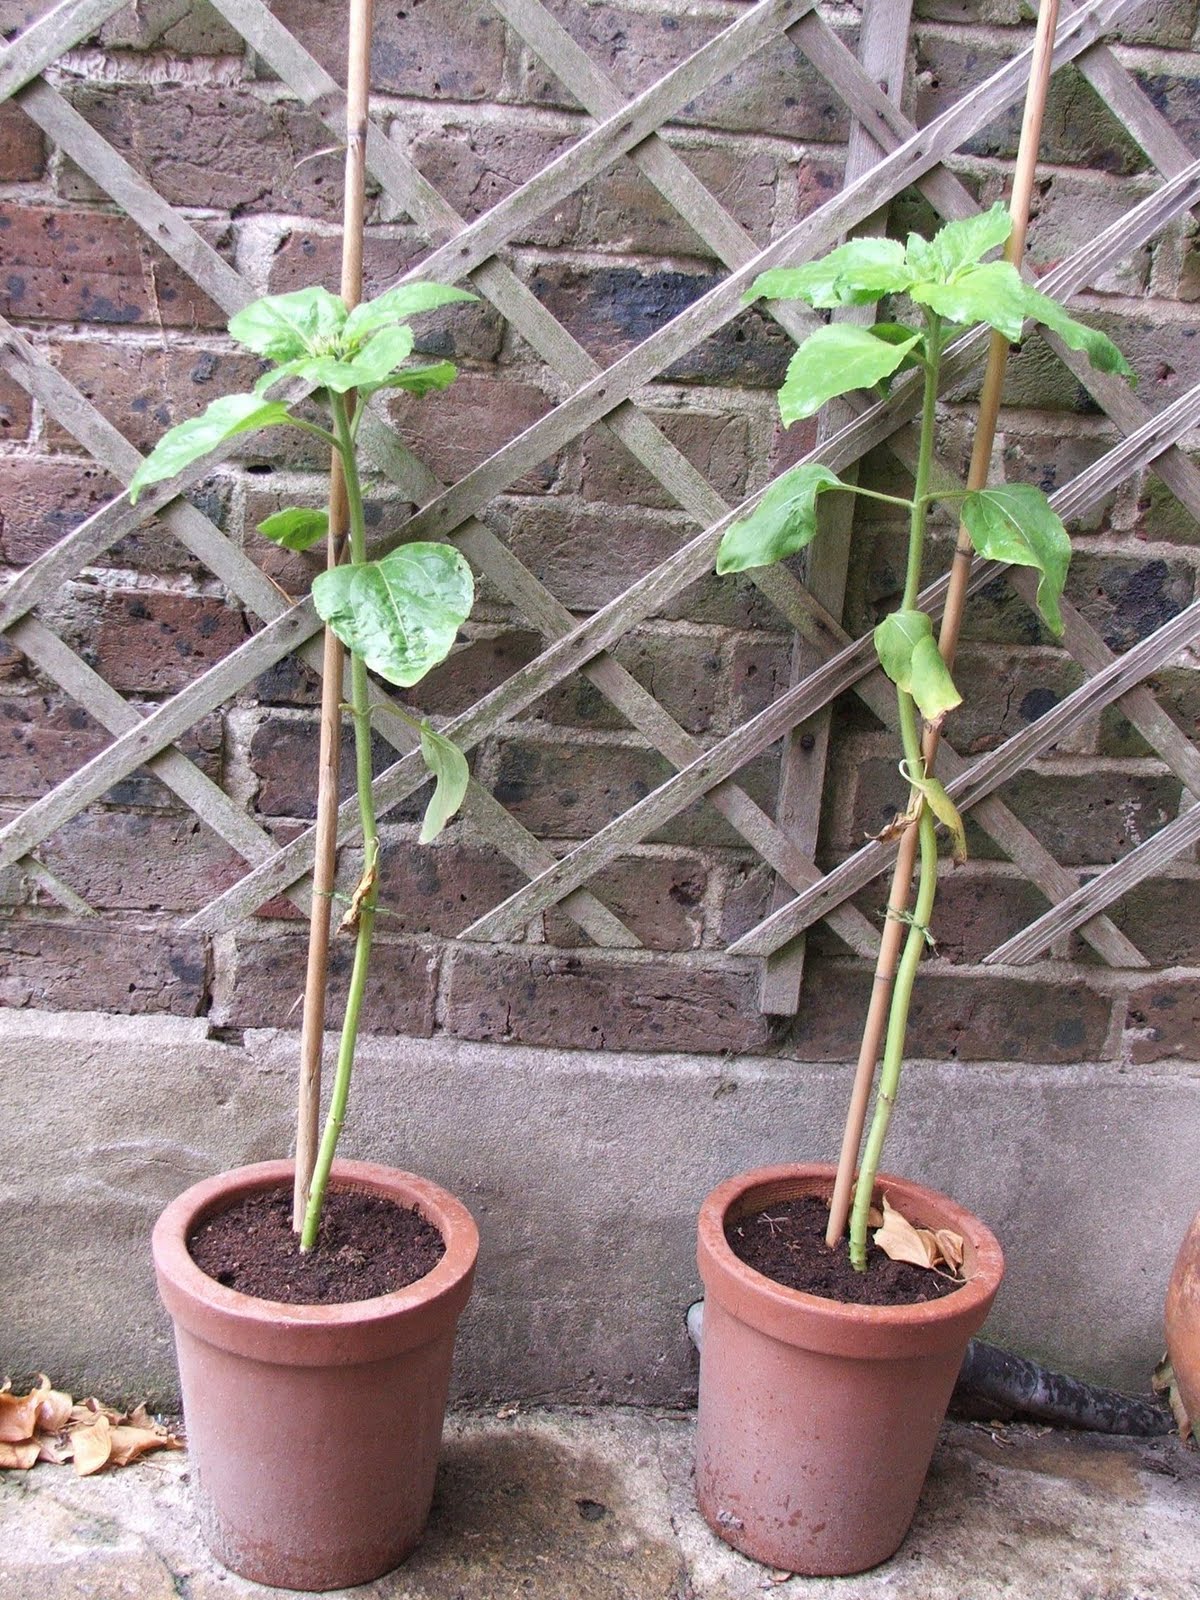
The little paper cups we planted the sunflower seeds in were getting far too small to sustain their recent rapid growth. We managed to find some old unused terracotta pots laying around in the garden, but any pot that allows drainage will do. The children enthusiastically filled the pots with enough compost and the sunflowers were turned out with some gentle teasing of the roots, to encourage them into their new homes. Any gaps were filled with more compost due to the new pot size, patted gently down and watered.


We also moved the six best tomato plants to grow bags, although some overzealous trampling has meant one plant is looking a little bit sorry for itself! In the meantime, the wild flowers we planted to attract insects, have finally started to show some variety in colour. Although, so far, we've only had some bumble bee visitors, the children are hoping to find some other interesting insects to capture in their bug nets. They especially love examining their creepy crawly finds from the garden by putting them in their bug box, before letting them roam free again (obviously the bees don't get caught!). Lastly, the bulbs previously planted were slug attacked but they are making a come back and hopefully will catch up with everything else.

The kids certainly enjoyed their gardening and although the rest of the garden was a wet no-go zone, we kept dry and happy. If you're in need of some child-size tools, why not look at one of Trumpety Trump’s latest additions - the super children's Garden Set with Sturdy Bag and 6 Tools.

Saturday 11 June 2011

Things making me smile...

from Trumpety Trump by Amanda Ranford

Half term swept past in a flash as usual and things are pretty much back to normal. We took off to our favourite hideaway place (Cornwall) for a sneaky rest during the mini break. Of course too many ice creams topped with irresistible clotted cream were devoured and we made the most of some lazy evenings alfresco dining when the weather was fine.

Here's a few things making me smile recently...


{Building a sandcastle and then watching the waves wash it away}


{Just one of many beautiful Cornish beaches}

{It's either Kelly's or Callestick Farm ice-cream for me!}

{Having fun looking for fish}

{A row of Lorikeets at Longleat Safari Park}

Thursday 9 June 2011

Create an amazing hot air balloon out of papier-mâché

I'm delighted (and slightly relieved!) that the Trumpety Trump shop window display has finally come to an end. I thought it would be great to create a hot air balloon scene made from papier-mâché (French for 'chewed paper'!); little did I realise how long it would take! I have to say though that all those late evenings painstakingly applying layer upon layer of newspaper with glue, was worth it in the end. I am now delighted to be looking out my shop window at floating balloons painted in bold, eye-catching colours.

For those of you who have the patience, here's how to make a papier-mâché hot air balloon...

1. Firstly, I inflated some balloons and ripped up lots of newspaper into approximately 6-8 inch strips. If you are doing this with a child, smaller balloons are easier to papier-mâché, especially for young children.

2. PVA glue and water (about 3 parts glue to 2 parts water) were mixed together and the adhesive applied with a paintbrush to sections of the balloon. The strips of newspaper were then placed on the glue and the edges smoothed out with the brush. This process was repeated, ensuring that the paper pieces were overlapping as I covered the entire balloon. I then hung the balloon up to dry for the evening by attaching a bit of string to the end of the balloon.

3. Once the first layer of papier-mâché was dry, two further layers were applied and then left to dry again overnight (I used white paper for the final layer). Once completely dry, the balloon inside was popped and the bits of balloon latex removed.

4. I then cut a 3 inch diameter around the air hole end of the papier-mâché. Small baskets were made out of paper cups wrapped in brown packing paper and attached with string to the papier-mâché.

5. An easy design was created and the mould painted in bright colours with poster paint. Ta-dah!

My husband did a splendid job of making a huge papier-mâché hot air balloon which was carried out in much the same way as above. The difference being he used chicken wire to create the balloon structure, instead of a balloon. Once the desired balloon had been manipulated into shape, it was held together with cable ties. Layer upon layer of strips of newspaper were again applied until it was completely solid and ready to be painted.


The children got involved with the creation of the large hot air balloon and had lots of fun in the process. They particularly enjoyed splashing glue all over the place whilst we frantically put strips of paper over the mould!


WARNING: A fair amount of patience is needed if you get the little ones involved!